Picture this. You pull into your driveway after an oil change at the shop. The next morning, fresh oil spots dot the pavement under your car. A bad oil filter seal causes about 80 percent of these leaks. They starve your engine of lubrication and lead to costly repairs fast.
You can fix this yourself. DIY oil changes cut costs in half. You build skills and keep your vehicle reliable. This guide covers tools, step-by-step replacement, seal checks, and pitfalls to avoid. It fits most cars. Always check your owner’s manual for exact details.
Stock Up on Essential Tools and Prep Your Workspace
Gather the right items first. This prevents frustration mid-job. You need an oil filter wrench that matches your filter size. Or use pliers with care. A catch pan holds 5 to 6 quarts of oil. Pick a new filter for your exact car model.
Grab fresh oil in the right type and amount. Clean rags soak up spills. A jack and stands help if your filter sits low. Wear gloves to stay clean. A flashlight reveals hidden spots.
OEM filters often seal best because they match factory specs. The wrench avoids slips that round off the filter. Set up on a flat driveway. Let the engine cool slightly. Warm oil drains faster, though.
Engage the parking brake. Chock the wheels. Keep kids and pets away. Work safely to avoid slips. Check your manual for torque specs on the drain plug and filter. Follow them exactly.
- Oil filter wrench or strap wrench: Fits snug for easy turns.
- Catch pan: Wide and deep to catch all drips.
- New oil filter: Model-specific for perfect fit.
- Engine oil: Correct viscosity and quantity.
- Rags and gloves: For cleanup and protection.
- Jack and stands: If undercar access needs a lift.
- Flashlight: Spots oil residue clearly.
Prep saves time. You stay organized and safe.
Follow These Steps to Swap Your Oil Filter Smoothly
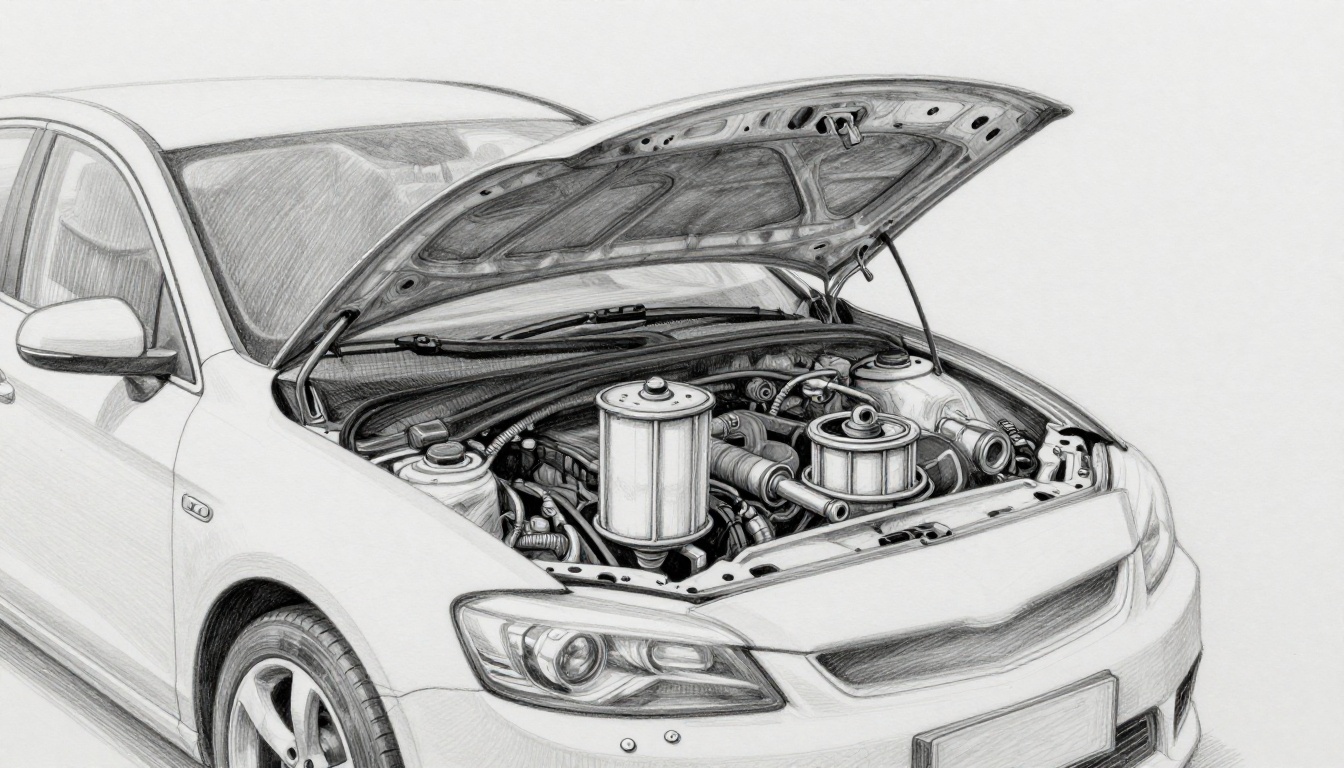
Start with the basics. Park on level ground. Pop the hood. Locate the oil filter. It sits near the engine block. Position your catch pan below it.
Drain the old oil first. Then remove the filter. Prep and install the new one. Wipe everything clean. This ensures a solid seal.
Work methodically. Hot parts burn skin. Use gloves always.
Draining the Oil Without Making a Mess
Find the drain plug on the oil pan underside. Place the catch pan right below it. Loosen the plug with a wrench. Turn counterclockwise.
Oil flows out fast. Let it drip for 10 minutes. Tilt the pan to catch stragglers. Most engines hold 4 to 6 quarts.
Inspect the plug washer. Replace it if flat or crushed. Screw the plug back in snug. Torque to manual specs. Avoid over-tightening, which strips threads.
Wear gloves and eye protection. Splashes sting. In addition, wipe the pan lip clean before recapping.
Unscrewing the Stuck Old Filter Safely
Poke the filter’s anti-drainback valve with a screwdriver tip. Empty leftover oil into the pan. Position the pan under the filter fully.
Use a strap wrench for best grip. Wrap it tight and turn counterclockwise. Rubber bands over pliers add traction if needed.
Filters seize from heat cycles. Spray penetrating oil if stuck. Tap the wrench lightly with a hammer. Never stab the filter with a screwdriver. That shreds metal into the pan.
Wiggle the filter free. Note the old gasket position. Clean the housing threads and gasket groove right away. Residue ruins new seals.
Hand-Tightening the New Filter Just Right
Check the new gasket for nicks. Dab it lightly with fresh oil. This eases install and improves seal.
Fill the filter halfway with oil if you like. Less mess on startup. Align threads straight. Spin on by hand clockwise until snug.
Add a three-quarter turn more with the wrench. No more than that. Too loose causes leaks. Too tight strips threads or cracks plastic housings.
Compare to the old filter’s position. It should sit flush. Wipe any spills fast. You prevent slips on startup.
Spot a Perfect Seal and Catch Leaks Early
A good seal means no drips. Check right after install. This catches issues before they worsen.
Refill with fresh oil. Run the engine at idle for two minutes. Builds pressure. Shut off and wait five minutes. Inspect the underside.
Wipe the filter base clean first. Fresh oil shows true leaks. Drive a short loop. Park and check again. Confidence comes from these tests.
Bad signs include oil puddles or smoke smells. Retighten or replace fast. Regular checks extend engine life.
Quick Visual and Touch Inspection Tricks
Shine a flashlight around the filter base. Look for oil sheen or gaps. No shine means good contact.
Trace with your finger. Feel even pressure. Avoid squishy spots or gaps. Gaskets pinch easy.
Cartridge filters need full seating in the housing. Push until it clicks. Clean grooves prevent slips.
These tricks spot 90 percent of issues upfront. Simple yet effective.
Run the Engine Test for Real Proof
Top off the oil after install. Start the engine. Idle to build pressure. Rev gently once or twice.
Kill it after two minutes. Wait five. Touch the filter base. Dry means success.
Recheck after overnight parking. Tiny weeps often settle. Big drips demand redo. Most importantly, patience pays off here.
Dodge These Rookie Mistakes for Lasting Results
Skip full drains and new filters clog quick. Clogs starve the engine. Always wait for complete drip.
Cross-threading wrecks housings. Start straight by hand. Wrong-size filters guarantee leaks.
Over-tightening snaps cheap plastic filters. Stick to hand-tight plus quarter turn. Forgetting oil refill runs engines dry. Disaster follows.
Pro tips help. Snap a photo of the old filter spot. Label parts if confused. Dispose used oil at recycle centers.
Change every 5,000 miles. Call a mechanic if undercar access proves tough. Or if your engine has odd quirks.
Avoid these and your engine thanks you.
Mastering oil filter replacement brings peace of mind. A tight seal prevents leaks and protects your investment. Your engine runs smoother with fewer shop visits.
Try this on your next change. Share your results in the comments below. Bookmark for oil day. Regular care adds years to your car’s life. You got this.