You pull the starter cord on your lawnmower. It sputters and dies right away. Or your chainsaw won’t fire up because fuel leaks everywhere. These issues stem from a brittle primer bulb or cracked fuel lines.
Primer bulbs push fuel into the carburetor for easy starts on small engines. Fuel lines carry gas from the tank to the engine. Age, ethanol in gas, sun, and heat make them brittle and crack over time. You face stalled engines or fire risks if you ignore them.
This guide walks you through the full DIY fix. You’ll learn to spot problems, gather tools, remove old parts, install new ones, and test everything. Save cash on shop repairs. Follow along, and your equipment runs smooth again.
Spot the Telltale Signs Your Primer Bulb or Fuel Lines Are Failing
Small engines give clear warnings before they quit. You notice performance drops first. The engine starters hard or floods with gas. Fuel smells strong around the unit. These clues point to primer bulb or fuel line failure.
Ignoring them leads to carburetor clogs. Leaks create fire hazards too. Check before spring startup. Or do it after winter storage. A quick home test helps. Squeeze the bulb with a clear hose attached. Look for air bubbles or no fuel flow. Catch issues early. Avoid breakdowns mid-job.
Perform checks in good light. Run your fingers along lines. Feel for soft spots. Sniff for gas odor. These steps take seconds. They save hours later.
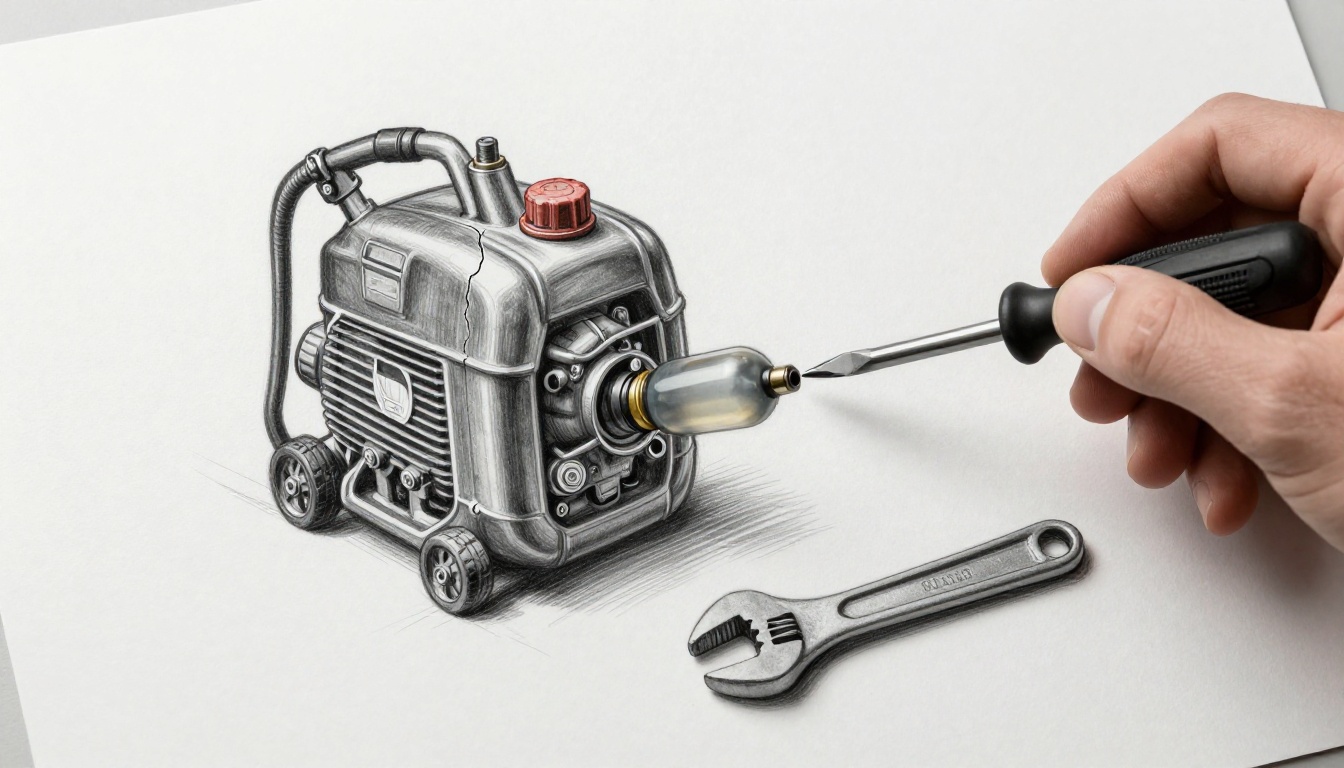
Primer Bulb Red Flags You Can Check in Seconds
Primer bulbs fail fast in 2-cycle and 4-cycle engines. Think weed eaters or leaf blowers. The bulb feels stiff when you squeeze it. It lacks bounce back. Visible splits appear on the edges.
Milky color signals ethanol damage. The rubber swells then cracks. Test it right. Pinch off the fuel line upstream. Pump the bulb. You should see fuel move downstream. No movement means replacement time.
Hard bulbs won’t prime fuel. Engines starve as a result. Soft mushy ones leak inside. Gas floods the carb. Check yours now. Press and release a few times. Feel the difference from new.
Fuel Line Cracks That Spell Engine Trouble
Fuel lines crack at bends or fittings most. Walls thin out over time. Ethanol makes rubber swell first. Then it turns brittle.
Squeeze the line. It collapses easy if bad. Leaks show at connections. Drips appear when you pressurize the tank a bit. Run water through to spot issues.
Engine starves without fuel flow. Or it floods from leaks. Smell gas near the carb. That’s your cue. Replace lines before they burst.
Tools and Parts You Need for a Smooth Swap
Gather everything first. This prep builds confidence. You avoid mid-job trips to the store.
Start with a new primer bulb and fuel line kit. Match your engine model. Briggs & Stratton or Stihl sell OEM parts. Aftermarket works fine too. Get 1/4-inch inside diameter lines. Common size for most.
Tools include a small screwdriver set. Needle-nose pliers pull fittings. A razor blade or line cutter slices clean. Rags soak spills. Fuel line disconnect tool helps on tight spots. Carb cleaner flushes residue. Fresh gas primes later.
Safety gear matters. Wear gloves and eye protection. Work outdoors in fresh air. Budget stays low. A full kit costs under 20 dollars at auto parts stores or online.
Each tool serves a purpose. Pliers grip without damage. Razor cuts straight. Soapy water lubes tight fits. You finish fast with the right setup.
Safely Remove the Old Primer Bulb and Cracked Fuel Lines
Safety comes first always. Disconnect the spark plug wire. Drain fuel into an approved container. Work away from flames or indoors.
Pinch lines to limit spills. Note the routing. Most setups have one line from tank to primer. Another from primer to carb. Primer sits inline near the carb.
Cut old parts carefully. Slice near fittings. Avoid barb damage. Twist stubborn lines gently. Or warm with a hairdryer. Force nothing. You risk carb harm.
Follow these steps. Stay patient. Messes clean easy with rags.
Disconnect and Cut the Primer Bulb Free
Locate the bulb near the carburetor. Squeeze it to relieve pressure. Cut both sides with a razor blade. Make cuts flush to the bulb ends.
Note barb direction if present. Some bulbs have one-way flow. Pull ends free. Wipe residue. Inspect barbs for wear.
Old bulbs stick from age. Rock them side to side. They pop off clean. Trash the old one right away.
Slice Out Those Cracked Fuel Lines Without a Mess
Trace the route. From tank filter to primer inlet. Then primer outlet to carb inlet.
Use pliers on fittings. Twist counterclockwise if needed. Cut old line one inch from each end. Leave room for new line.
Label lines if multiple exist. Tank line often has a filter. Carb line stays smaller. Pro tip: elevate the tank. Gravity drains fuel.
Install New Primer Bulb and Fuel Lines Like a Pro
Prep new parts now. Cut fuel lines to match old lengths. Common ID measures 1/4 inch. Slide onto barbs dry first.
Lube with soapy water if tight. Reconnect in reverse order. Tank to primer inlet. Primer outlet to carb or filter.
Secure loose spots with zip ties. Reinstall the tank if off. Prime the bulb several times. Fill the system.
Double-check every connection. Tight fits prevent leaks.
Slide the New Primer Bulb into Place
Match any arrow for flow direction. Push firmly onto inlet and outlet barbs. It seats snug.
Test squeeze before full setup. Bulb bounces back. Fuel moves through. Arrow points toward carb always.
Firm pressure works. Wiggle to seal. No gaps allowed.
Route and Connect Fresh Fuel Lines Securely
Avoid kinks in lines. Keep away from hot muffler or moving blades. Use exact lengths. Prevent strain at fittings.
Push onto barbs deep. One inch minimum. Twist while inserting. Locks in place.
Check for pinches. Smooth curves only. Secure with ties near tank.
Test Your Repairs and Prevent Future Problems
Reconnect the spark plug. Add fresh non-ethanol gas. Or use stabilized fuel.
Prime the bulb 5 to 10 times. Pull the starter cord. Watch for leaks while it runs. Let idle to operating temperature.
No start? Recheck connections. Clean the carb if flooded. Leaks mean retighten.
Prevent repeats with care. Store engines dry. Drain fuel or add stabilizer. Winterize each fall.
Replace parts every 2 to 3 years. Garage storage blocks sun and heat. You gain reliability. Save on repairs long-term.
Fresh gas helps most. Ethanol blends degrade rubber fast. Switch if possible. Your engine thanks you.
Replacing a brittle primer bulb and cracked fuel lines takes under an hour. No shop needed. Your gear starts easy now.
Grab tools this weekend. Fix it yourself. Share your story in the comments. What engine did you save?
Stay handy. Save cash all season. Enjoy frustration-free starts.