Picture this. You’re cruising down the highway when your car suddenly stutters. The engine hesitates, power fades, and you pull over wondering what’s wrong. Faulty spark plugs often cause that frustration because they fail to deliver a strong spark for ignition.
These small parts ignite the fuel-air mix in your engine’s cylinders. When they wear out, you get weak ignition. That leads to rough runs, poor mileage, and even breakdowns. Inspecting and replacing them brings back smooth power, better gas savings, and reliable starts.
In this guide, you’ll learn warning signs to spot early, tools to gather, inspection steps, replacement process, and pro tips. You’ll save cash on mechanic bills too. Ready to get your engine firing strong?
Spot the Warning Signs of Bad Spark Plugs Early
Your car tries to tell you when spark plugs go bad. Pay attention, and you avoid bigger headaches. Worn plugs can’t spark fuel well, so the engine strains. That weak ignition cuts power and wastes gas.
Common signs pop up during drives or at idle. Drivers notice them first on daily commutes. Catching them early means simple fixes instead of towing.
For example, misfires feel like jerks under acceleration. The car bucks as cylinders skip beats. Fuel burns wrong, and exhaust gets odd.
Hard starts add to the clues, especially on chilly mornings. You turn the key, but it cranks slow. Plugs fail to ignite right away because electrodes wear thin.
Listen to Your Engine’s Clues Like a Pro
Engine sounds give big hints. Listen for popping noises from the hood during acceleration. That means unburned fuel explodes late in the exhaust.
Hesitation hits when you press the gas. The car lags before surging forward. Compare it to normal smooth pulls from a stoplight.
Vibrations shake the wheel at idle too. The whole car quivers because cylinders fire unevenly. Take a short test drive around the block. Note if it feels off versus usual purr.
These feel-based signs beat waiting for lights on the dash. They point straight to ignition trouble from bad plugs.
Visual and Smell Checks You Can Do Without Tools
Look at the tailpipe next. Black smoke means too much fuel and weak sparks. It billows during hard pulls.
Smell gasoline near the exhaust? That’s unburned fuel escaping. Faulty plugs leave it behind.
Fuel economy drops fast as well. You fill up more often because combustion stays incomplete. Track your miles per gallon over a week.
Dashboard lights glow too. The check engine icon often blinks for misfires. Scan it with an OBD reader if you have one. These no-tool checks confirm spark plug issues quick.
Gear Up with the Right Tools and Safety First
Before diving in, grab the basics. Good tools make the job easy and damage-free. You’ll need them for safe inspection and swap.
Quality matters because cheap ones strip threads or slip. Check your owner’s manual for plug specs first. That guides your picks.
Safety keeps you burn-free and shock-free. Engines run hot, and coils pack voltage. Prep right, and confidence grows.
This setup leads to precise work. In turn, you get that stronger ignition without comebacks.
Must-Have Tools for Smooth Spark Plug Work
Start with a spark plug socket. It has a rubber insert to grip without dropping the plug. Sizes match common threads like 5/8-inch or 13/16-inch.
Add a ratchet and extensions. Extensions reach deep into cylinder heads on V6 or V8 motors.
A torque wrench sets the right tightness. Overdoing it cracks heads. Aim for specs like 15 foot-pounds.
Don’t skip the gap tool. It measures electrode space for proper spark. Dielectric grease seals boots against moisture.
Anti-seize stops rust on threads. Shop rags clean up, and gloves protect hands. These tools turn novices into pros fast.
Smart Safety Steps to Avoid Accidents
Park on flat ground first. Chock the wheels so it won’t roll.
Let the engine cool 30 minutes. Hot parts burn skin quick.
Disconnect the battery negative cable. That kills power to coils.
Wear gloves and eye protection. Work in a garage with good airflow. Exhaust lingers otherwise.
Skip loose clothes near belts or fans. Tuck in shirts and roll sleeves. These steps prevent most mishaps.
Inspect Your Spark Plugs Like a Mechanic
Locate plugs using your manual or quick online search. Most sit atop cylinders under a plastic cover.
Remove coils or wires first. Label them by cylinder number. That avoids mix-ups later.
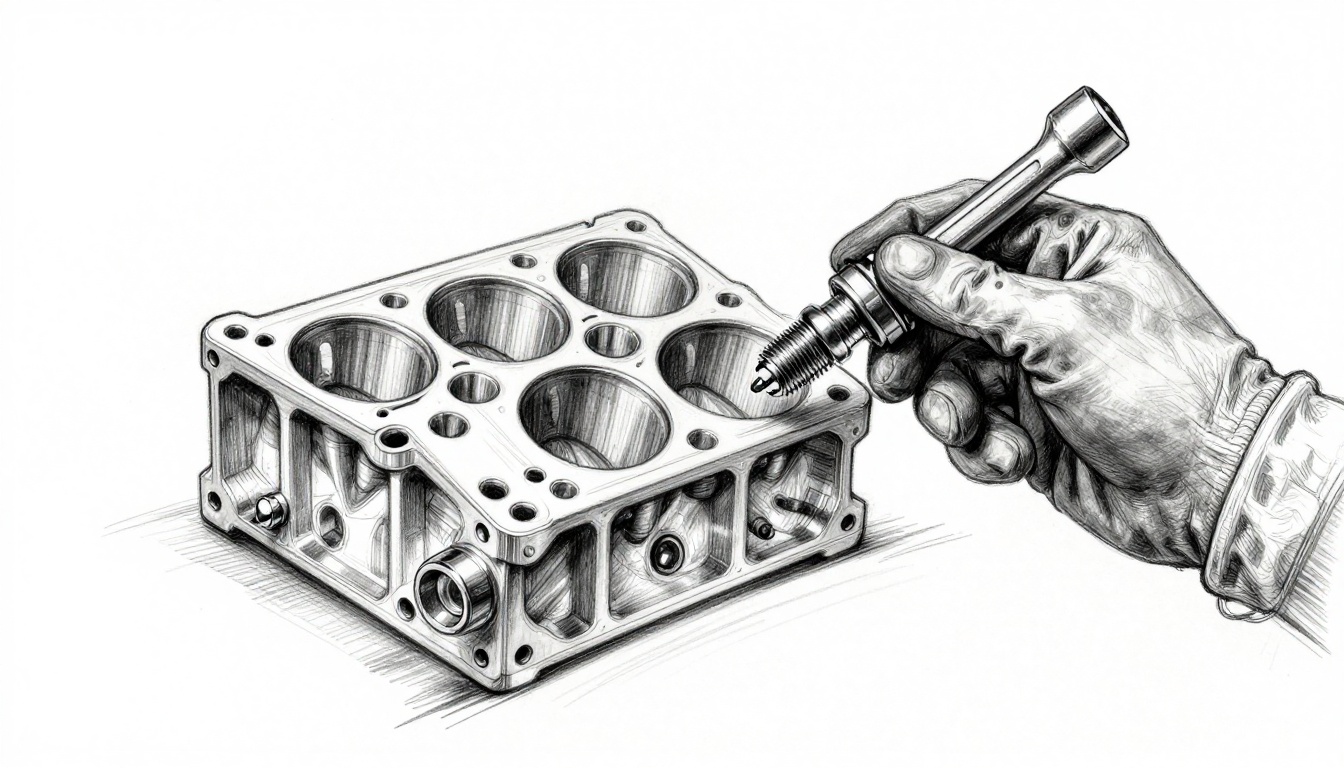
Use the socket to loosen each plug counterclockwise. Pull slow to see the tip clear.
Examine close now. Faulty ones show clear wear. This step confirms if you need a full replace for better ignition.
Inspection spots problems before they worsen. You save on repairs down the road.
Finding and Removing Plugs Without a Hassle
Identify the firing order from the manual. Label coils with tape, like “1” or “3”.
Blow debris from wells with compressed air. Dirt falls in and scores pistons otherwise.
Turn the ratchet slow at first. Seized plugs break if you rush. Spray penetrating oil if stuck.
Wiggle the plug out gently. Inspect the threads for damage too. Note any pulled from deep wells.
Common pitfalls include dropped plugs. Fish them out with a magnet tool. Patience pays here.
Decoding Plug Condition for Quick Diagnosis
Normal plugs look tan or gray. Electrodes stay sharp.
Carbon fouling covers tips in black soot. It comes from rich fuel mixes or oil.
Oil fouling leaves wet black deposits. Seals leak above the plug.
White ash means overheating. Lean mixes or cooling issues cause it.
Erosion rounds electrode edges over time. Measure the gap. Specs run 0.030 to 0.060 inches usually.
Cracks spell danger; replace right away. Clean minor fouling if reusable. Otherwise, swap all for even power.
Swap in New Spark Plugs for Reliable Power
Pick the right type next. Match your engine’s needs for best results.
Gap them to spec before install. Hand-thread first to avoid crosses.
Torque snug, then reassemble. Fire it up and feel the difference.
New plugs deliver crisp sparks. That means peppier acceleration and steady idle.
Avoid gaps in torque or grease. They lead to early failures.
Picking Perfect Plugs for Your Ride
OEM plugs work fine for stock cars. Iridium lasts 100,000 miles with fine-wire tips.
Copper suits high-heat or performance. Check heat range numbers like 5 or 7.
Mileage guides intervals. Change at 30,000 for copper, longer for platinum.
Cross-check part numbers online or at auto stores. Factor in economy or power goals.
Your manual lists exact fits. Stick close for reliable ignition.
Precise Installation for Long-Lasting Results
Apply anti-seize thin on threads. Skip the electrode end.
Dab grease inside coil boots. It seals water out.
Drop plugs in by hand. Turn clockwise till seated.
Torque in sequence across cylinders. Even pressure prevents warps.
Reattach coils firm. Reconnect battery last.
Start the engine. Rev smooth with no shakes. Test drive confirms stronger pull.
Regular swaps keep power strong. Check every year or 10,000 miles.
New plugs transform your drive. Rough idles vanish, and mileage climbs. You spot issues early now, so breakdowns fade.
Grab tools this weekend and tackle it. You’ll pocket savings and enjoy the road more.
Share your before-and-after in comments below. What sign tipped you off first? Subscribe for more easy car fixes.