Picture this. You’re mowing the lawn on a sunny afternoon. Suddenly, your mower jolts hard. You hit a hidden rock or stump. The blades stop spinning right away. Don’t panic. That jolt likely sheared the shear key, a tiny metal pin built as a safety fuse. It breaks on purpose to shield bigger parts like spindles or the engine from ruin.
You need to inspect it fast. A quick check stops small issues from turning into big repair bills. Plus, it keeps you safe on the next mow. This post covers what a shear key does, signs it failed, a simple home inspection guide, fixes, and prevention tips. Has this happened to you? Let’s fix it now.
What Is a Shear Key and How Does It Protect Your Mower?
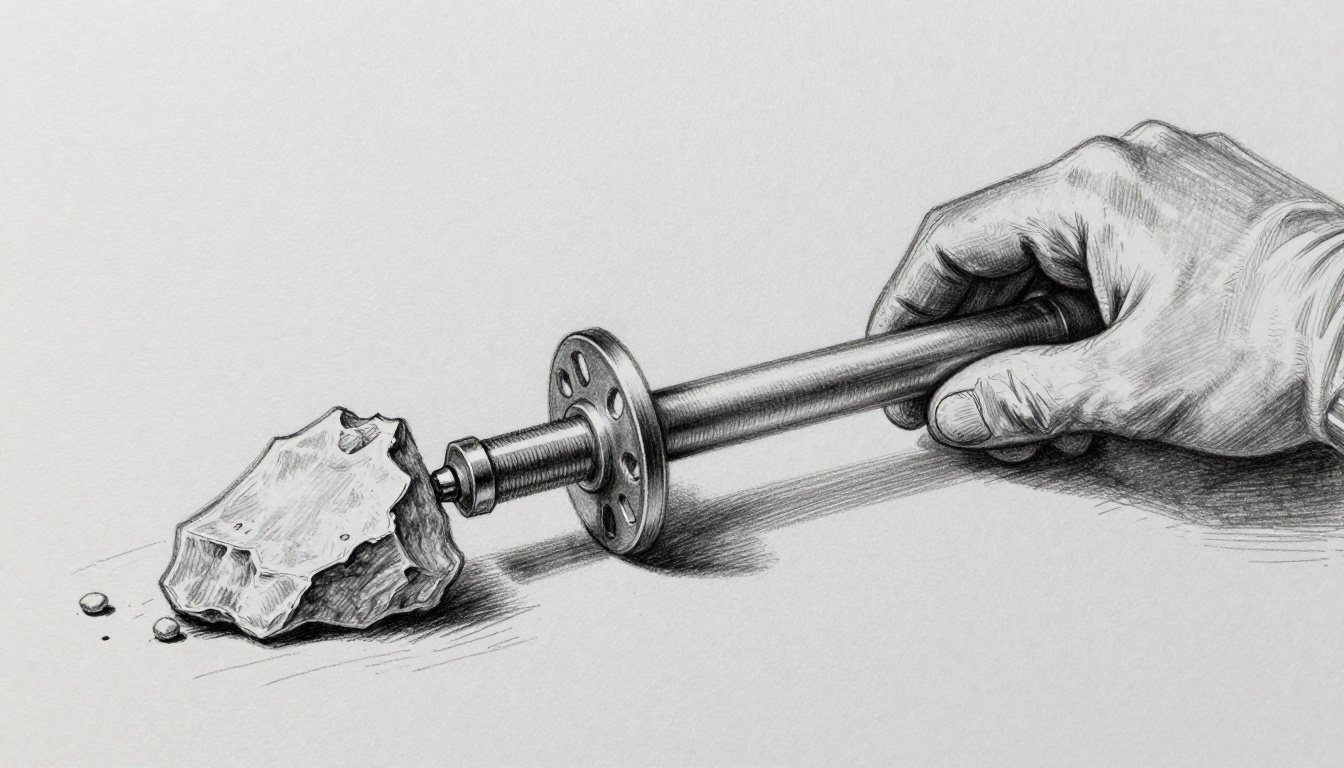
A shear key looks like a small metal rod or bolt. It sits in a slot on the mower’s spindle or PTO shaft. When overload hits, like from a rock, it snaps first. This saves costly damage elsewhere.
Think of it like a fuse in your home wiring. Too much power blows the fuse, not the whole house. Mowers from brands like John Deere or Husqvarna use them on blade spindles or drive shafts. In riding mowers, you’ll find one per spindle. Zero-turn models often have them too.
The shear key handles normal torque fine. But extra force shears it clean. As a result, blades stop before they bend or the deck cracks. It also spares the engine strain. This little pin could save you hundreds in repairs. Most importantly, it prevents flying debris hazards.
Owners love it for reliability. However, you must replace it right after. Otherwise, the mower won’t engage blades properly. Next time you mow rough grass, thank that shear key.
Key Signs Your Shear Key Needs a Closer Look After Impact
After a hard hit, watch for these clues. Blades refuse to spin or engage. That’s the top sign. The PTO lever moves, but nothing happens.
Unusual vibrations or grinding noises hit first, then silence. Feel the deck shake more than usual? Loose parts might point to a sheared key. Debris flies out bent or chipped too.
Don’t mix this with belt slips. Belts whine and stretch. A sheared key stops motion dead. Stop mowing right away. Safety comes first because loose blades can kick back.
Ignoring these leads to spindle damage. Then repairs cost way more. Check soon if blades drag or the deck wobbles. These symptoms scream for a shear key inspection.
Step-by-Step: Safely Inspect Your Mower’s Shear Key at Home
You can check this in 15 minutes with basic tools. Grab gloves, a flashlight, wrench set, and pliers. A spare shear key helps for comparison. Park on flat ground first. Always prioritize safety.
Gear Up and Shut Down Your Mower Properly
Wear thick gloves and eye protection. Turn off the engine. Remove the key from ignition. Disconnect the spark plug wire. This stops accidental starts.
For battery-powered or electric-start mowers, unplug the battery too. Let the deck cool if hot. Tilt it up safely if your model allows. These steps prevent shocks or spins. Now you’re set.
Find the Shear Key on Your Mower Deck or PTO
Look near blade spindles. The shear key slots into a groove there. It’s a thin pin with a cotter pin or clip holding it. On PTO drives, check the shaft connection.
Walk-behind mowers hide it under the deck. Riding models make access easier from below. Shine your flashlight. Spot the weakest link. Manuals show exact spots for your model.
Check for Damage: Spin, Wiggle, and Visually Inspect
Grab the spindle top. Rotate it by hand. It should turn smooth, no wobbles. Pull the cotter pin. Slide out the shear key.
Inspect close. Look for bends, cracks, or a clean shear cut. A good one stays straight and firm. Compare sizes if you have a new one. Reinsert and test spin again.
Test the Blades and Deck for Other Hidden Damage
Spin each blade by hand. They must turn free without binding. Check edges for nicks or bends. Feel bearings for grit or play.
Scan nearby belts for frays. Note your mower’s serial number. It helps order parts later. Hidden damage hides here often.
Fix It Fast: Replacing a Sheared Key and Avoiding Costly Mistakes
Grab an OEM replacement. Match size and material exactly. No bolts or substitutes. They won’t shear right.
Clean the slot first. Slide in the new key. Secure with cotter pin. Torque to spec, usually hand-tight plus a quarter turn. Lower the deck. Reconnect spark plug.
Start the engine. Engage blades slow. Listen and watch. Smooth spin means success. This fix costs under $10.
Call a pro if the spindle wobbles or you see cracks. Don’t force it. A bad install ruins more. Test mow a small patch after.
Smart Habits to Protect Your Shear Key on Future Mows
Mow slower over bumpy spots. Mark rocks or stumps with flags. Clear the yard before starting.
Clean the deck after each use. Grass buildup hides obstacles. Choose blades that handle impacts better, like heavier ones. Inspect keys before big jobs.
Upgrade to stronger keys if you hit stuff often. They last longer in tough yards. These steps let you mow worry-free all season. Share your tips below.
Your mower took a hit, but a shear key inspection saves the day. Check signs fast, follow those steps, and replace as needed. You’ll avoid big fixes and stay safe.
Act now next time. Grab tools and inspect. Your lawn stays neat. Subscribe for more mower advice. What’s your toughest mowing story?