Picture this. You turn the key on your lawnmower, and nothing happens. Or your truck cranks but won’t fire up. Frustrating, right? That often points to no spark, the electric jolt that ignites fuel in the engine.
You’ve probably yanked plugs before to check. It works, but it’s messy and risky. An inline ignition tester changes that. This cheap tool clips between the plug wire and spark plug. You see spark right there without removing anything.
In this guide, you’ll get the basics on the tool, what to gather, safe steps to test, how to read results, and quick fixes. Follow along, and you’ll diagnose engine woes like a pro in minutes.
Why Pick an Inline Ignition Tester for Spark Checks
Most folks start troubleshooting with the old plug-ground method. You pull the spark plug, hold it against the engine block, and crank. It shows spark, sure. But plugs can crack from drops. Wires might crossfire and shock you.
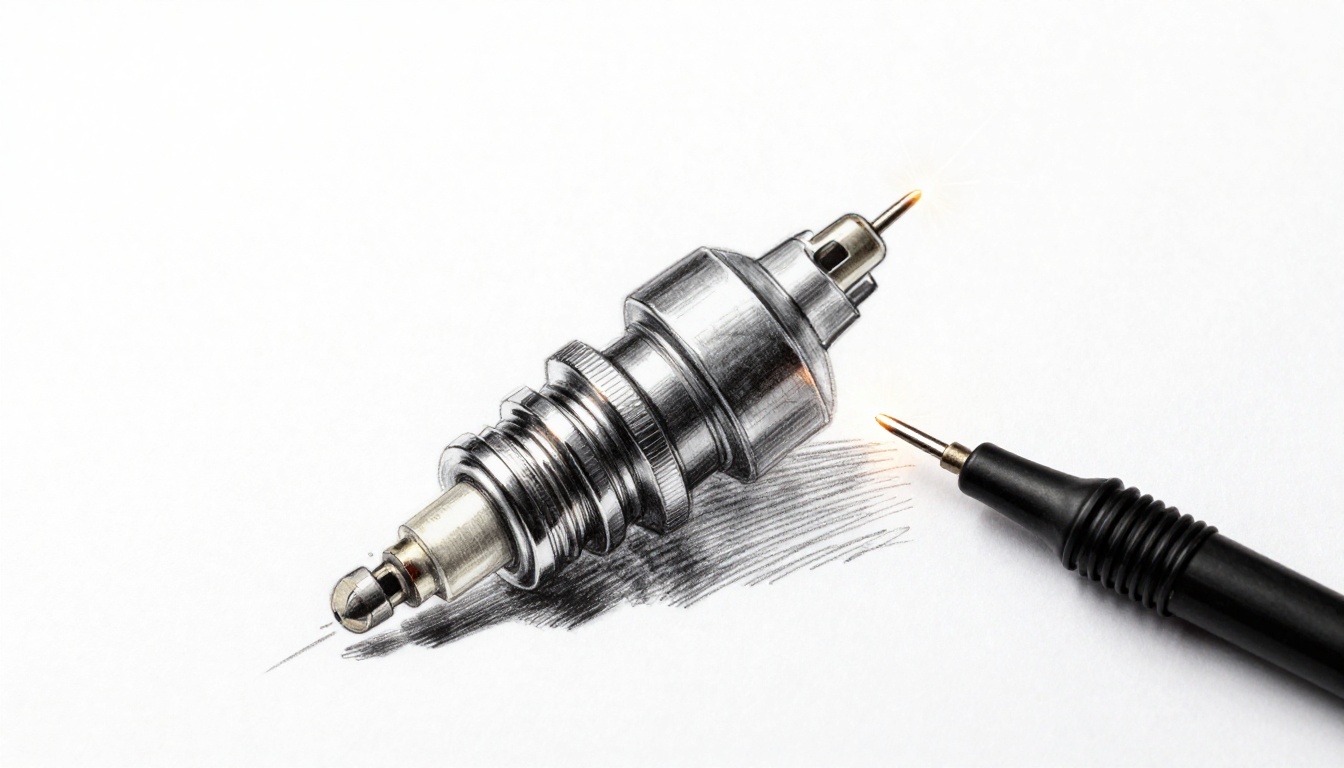
An inline tester fixes those issues. It’s a short wire with clips on each end. A clear window or neon bulb sits in the middle. Spark jumps a built-in gap, and you watch it glow.
This tool shines on cars, trucks, and small engines like chainsaws or lawnmowers. It reveals spark strength, not just presence. Bright blue means good power. Dim yellow signals weakness.
You’ll spend under 20 dollars on one. It lasts years with care. Use it for misfires, no-starts, or rough idles. No more guessing. You gain confidence fast because results show clearly.
Adjustable gap models match your engine specs. Fixed ones work for basics. Either way, it beats invasive tests. Save time and avoid damage. Next time an engine acts up, this tool leads the way.
Round Up These Tools and Safety Must-Haves
Start with the star: an inline ignition tester. Pick an adjustable gap type for versatility across engines. Dielectric grease keeps connections clean. Grab insulated pliers or gloves to handle hot parts safely.
Safety glasses protect your eyes from flying bits. A flashlight helps in tight spots. Optional extras include a spark plug socket and multimeter for deeper checks.
Prep matters most. Park on a flat surface. Chock the wheels on vehicles. Let the engine cool fully. Disconnect the battery’s negative terminal first. This cuts shock risk.
Wait five minutes after disconnecting. Capacitors discharge then. Insulated tools prevent burns or slips. With these in your garage, you’re set for safe testing. Check now, and shop if needed.
Nail the Spark Test with This Step-by-Step Guide
The whole process takes about 10 minutes per cylinder. Work on one at a time. This avoids confusion. Position the tester right, and crank in short bursts. No flooding the engine.
Tips help too. Wiggle wires gently for contact. Test all plugs if one fails. Reassemble carefully. Let’s break it down.
Step 1: Shut Off Power and Cool the Engine
Kill the engine switch first. Grab a wrench and loosen the battery’s negative cable. Pull it off the terminal.
Wait five minutes. This drains any stored power. If the engine feels hot, walk away until it cools. Burns hurt.
Find the spark plug wire on your test cylinder. Mark its spot with tape. Safety builds good habits from the start.
Step 2: Pull the Spark Plug Boot Straight Off
Use insulated pliers on the boot. Twist it a quarter turn. Pull straight out with even pressure.
Inspect the boot for cracks or corrosion. Wipe off dirt or grease. Yanking the wire damages it.
This quick check often spots bad wires early. Clean parts lead to better tests.

Step 3: Hook Up the Inline Tester Securely
Clip the tester’s alligator end to the spark plug top. Snap the other end into the boot firmly.
Set the gap if adjustable. Use 7/16 inch for most autos, or match your manual. Wiggle parts to confirm contact.
Loose clips give false reads. Tight fits ensure accuracy.
Step 4: Reconnect Battery and Crank It Up
Reattach the battery negative cable. Have a helper crank in 2-3 second bursts. Or bump the key yourself.
Watch the tester window closely. Note spark color, brightness, and steadiness. Long cranks flood the cylinder.
Short tries keep things dry. Results come quick.
Step 5: Read Results, Remove Tester, and Replug
Stop cranking. Disconnect the battery again. Unclip the tester and wipe it clean.
Push the boot back on with a twist. Add dielectric grease if dry. Reconnect the battery last.
Repeat on other cylinders. You’re done with basics.
Decode Your Spark Results and Spot Issues Fast
Good spark looks like a bright blue-white flash. It jumps the full gap on every crank pulse. Steady and strong means the system works.
Weak spark flickers yellow-orange. Or it glows dim. Coils or wires often cause this. They lose power over time.
No spark keeps the tester dark. Check ignition modules, switches, or grounds next. Wet plugs or fuel can hide true issues.
Retest with a clean, dry plug if unsure. Here’s a quick guide:
| Spark Sign | Likely Cause | Next Check |
|---|---|---|
| Bright blue-white | Healthy system | None needed |
| Dim yellow flicker | Weak coil/wire | Inspect connections |
| No glow | No power | Battery, module, ground |
| Inconsistent | Fouled plug | Clean or replace plug |
This table speeds decisions. Clean tests give honest views. Spot problems early, and fix them cheap.
No Spark Showing? Tackle These Common Culprits
Start with wires. Look for cuts, tears, or loose boots. Clean corroded ends with contact cleaner.
Test the coil output with a multimeter if you have one. Low resistance points to failure. Swap with a known good coil.
Check the distributor cap and rotor. Cracks or wear there kill spark. Replace as a set.
Fuel pumps or kill switches fool you sometimes. They mimic no-spark no-starts. Verify fuel first.
Computer-controlled engines need pros. Scan for codes. But for basics, these five fixes save bills:
Clean all connections. They build resistance fast.
Replace cracked wires. Arcing steals power.
Swap the coil. It’s often the thief.
Inspect cap and rotor. Carbon tracks hide inside.
Reset any kill switches. Simple oversight.
DIY stops at complex electronics. Call a mechanic then. You’ve fixed most issues yourself.
Testing empowers you. Engines run reliable when spark flows right.
Grab an inline tester today. Run these steps on your next dead motor. You’ll smile at quick wins.
Share your story in the comments. What fixed your no-spark? Subscribe for more DIY tips like carb cleans or timing sets.
You test spark like a pro now. Keep your rides and mowers humming.