Picture this. You’re in the middle of mowing the lawn on a sunny afternoon. Your riding mower clicks once, twice, then nothing. Dead battery terminals covered in white gunk. Or worse, a power outage hits, and your generator won’t crank because of the same issue.
Corrosion on electric-start small engines like lawn mowers, chainsaws, or pressure washers builds up from battery acid fumes. It looks like white, green, or blue powder. This quick 15-minute fix prevents breakdowns. It also extends battery life and saves you cash on replacements.
You’ll learn a safe method with no fancy tools. First, spot the signs. Then gather basics. Next, follow steps to clean, protect, and test. Grab your gloves. Let’s get that engine starting strong again.
Spot Corrosion Early: Common Signs and Why Act Now
You know the frustration. Your small engine acts up right when you need it. Corrosion sneaks in fast. It blocks power flow. So, watch for these signs.
- Engine clicks but won’t crank fully.
- Starter turns slow.
- Dashboard lights dim or flicker.
- White powdery residue coats the terminals.
That gunk often swells cables. It hides poor connections. Sulfuric acid vapors cause it. Moisture and heat cycles make it worse in small engines.
Act now because risks grow quick. Total battery failure strands you. Power tools sit useless. Shorts can spark fires. One spring startup, I ignored dim lights on my mower. It died mid-season. Cleaning restored reliable starts every time.
Early spotting saves headaches. Check batteries monthly, especially after storage. You’ll avoid surprises. In short, clean corrosion before it kills your starts.
Stock Up on Easy-to-Find Tools and Safety Essentials
Prep right, and the job goes smooth. You need items from your garage or store. No big spending required. Here’s the must-haves.
- Baking soda and water to neutralize acid.
- Wire brush or old toothbrush for scrubbing.
- Gloves and safety goggles to protect skin and eyes.
- Adjustable wrench or socket set for 8-10mm bolts.
- Rags or paper towels for wiping.
- Petroleum jelly or dielectric grease for protection.
- Optional vinegar spray for extra fizz.
Baking soda fizzes away acid safely. The brush blasts residue without scratching. Gloves matter because batteries hold acid. Sparks near hydrogen gas can ignite. So, work outdoors.
Small engines have tight battery spots. Tilt the mower deck if needed. Use a household toothbrush substitute. Set up on cardboard in your driveway. Clean area stays dry. Now you’re ready to dive in.
Master the Cleaning Process: Step-by-Step Guide
Patience pays off here. Rush, and you risk damage. The flow works simple: disconnect, neutralize, scrub, rinse, protect, test. It fits most electric-start small engines. Adjust for strapped or side-mounted batteries.
Tips first. Kill the power switch. Work in good light. Common mistake: skipping the negative terminal first. That arcs sparks. Follow these steps exactly.
Step 1: Disconnect the Battery Without Sparks
Turn off the engine. Remove the key. Loosen the negative (-) cable nut with your wrench. Slide it off. Then do the positive (+).
Wiggle cables free. Tape ends to insulate. This order prevents shorts. Small engines often strap batteries down. Prop heavy ones steady. No sparks means safe work.
Step 2: Neutralize Acid Buildup with Baking Soda Magic
Mix one tablespoon baking soda in one cup water. Pour it on terminals and cables. Watch it fizz. That’s acid neutralizing.
Let it sit five to ten minutes. Scrub light spots with the brush. Do this outside. Fumes clear fast. Baking soda turns corrosion to water and salt. Easy win.
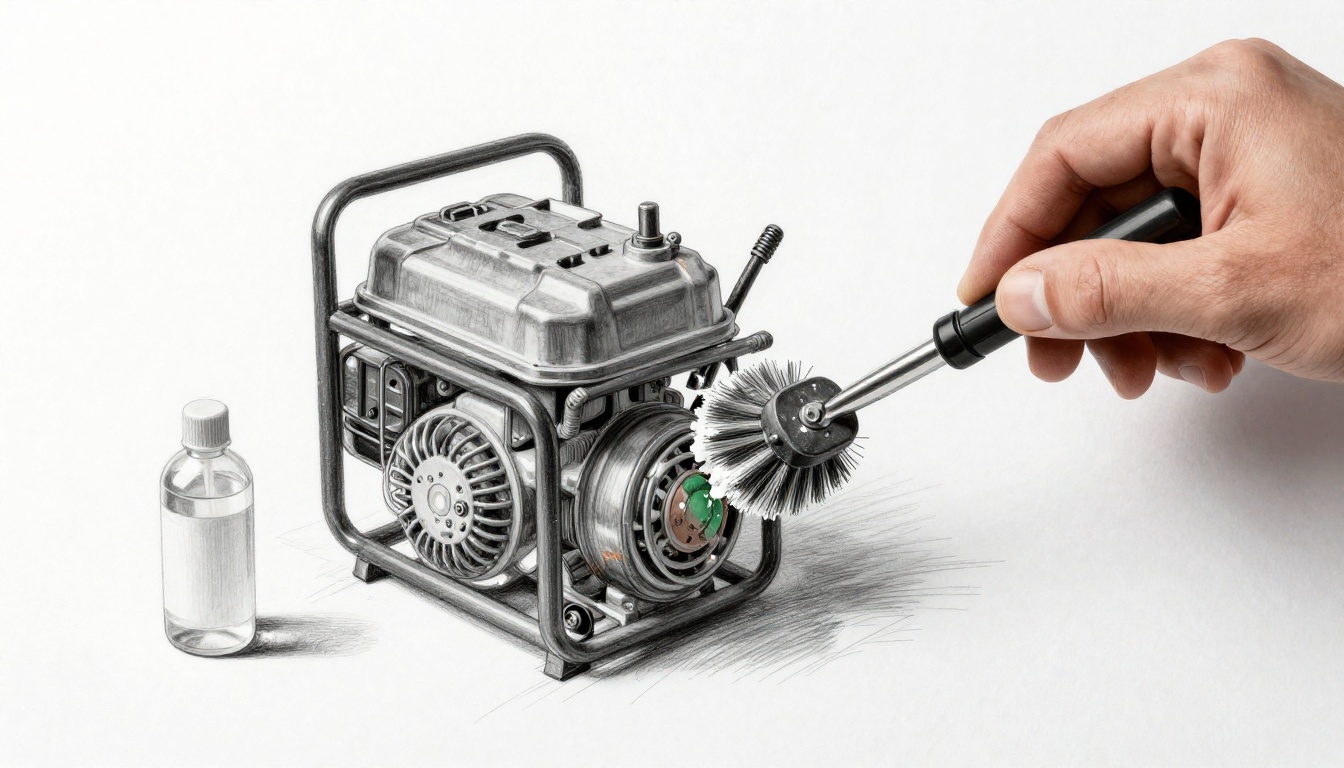
Step 3: Scrub Terminals and Cables Clean
Grab the wire brush. Rub posts in circles. Use a toothbrush for crevices. For tough spots, sand with 220-grit paper sparingly.
Clean inside cable clamps too. Wipe all residue. Terminals shine like new now. Check for cracks or swelling. Replace damaged parts right away. Clean cables boost connections.
Step 4: Rinse, Dry, and Inspect for Perfection
Flush with clean water. Remove soda bits fully. Dry with rags. Air dry ten minutes more.
Use a multimeter if you have one. Voltage should hit 12.6 or higher. Inspect bolts and holds. Tighten loose ones. Perfection sets up success.
Step 5: Reconnect, Protect, and Test Start
Smear petroleum jelly on terminals. It seals out moisture. Hook positive (+) first. Then negative (-). Tighten snug.
Try the start. Engine cranks strong now. If not, check fuses. Charge low batteries overnight. You’re back in business.
Stop Corrosion in Its Tracks: Smart Prevention Tips
Cleaning fixes today. Prevention stops tomorrow’s mess. Build habits that last. Check every six months.
- Apply grease after cleans.
- Keep connections tight.
- Store engines dry and ventilated.
- Top off electrolyte in non-sealed batteries.
- Use anti-corrosion sprays.
April startups need extra love. Wipe terminals before first mow. Long-term, switch to maintenance-free batteries. They resist buildup better.
These steps save time and money. No more surprise failures. Your tools stay ready. Simple routine keeps engines humming.
Reliable starts change everything. You just revived your electric-start small engine with basic steps. Corrosion loses its grip now.
Try this fix next time your mower or generator acts up. It takes minutes but prevents hours of hassle. Share your story in the comments. What engine gave you trouble? Subscribe for more DIY tips that keep your gear running. You got this.